Everything You Need to Know About Building a Minecraft Iron Golem Farm
2023-01-17
Creating an Iron Golem farm in Minecraft can seem daunting at first, but with this comprehensive guide, you’ll be able to craft your own efficient and automated iron-farming machine. Follow the steps below for a step-by-step guide on how to make an Iron Golem farm.
Step 1: Gather the Required Materials
The materials required for building an Iron Golem farm are quite simple. To create one, you will need 4 iron blocks, a carved pumpkin or jack o'lantern, 3 villagers, beds for each of them, hoppers, chests, and plenty of blocks (the more blocks, the bigger your farm). If you don’t have enough iron ingots to craft the four iron blocks, consider visiting pillager outposts where they are sometimes caged up - freeing them is possible, and they become powerful allies in combat!
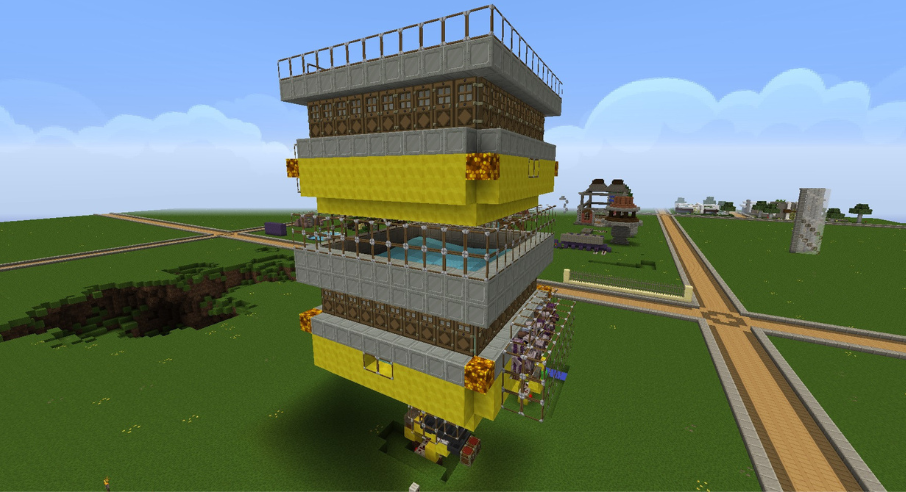
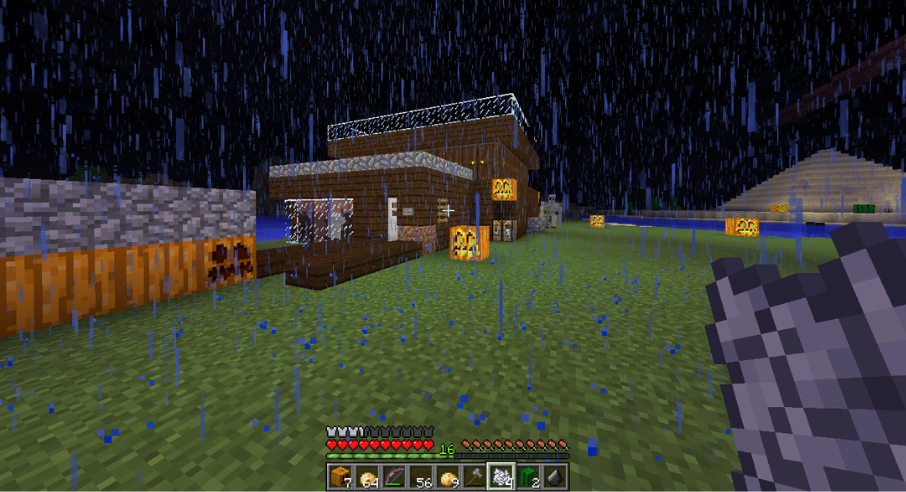
Step 2: Build Your T-Shaped Structure
Once all your materials are gathered, it’s time to build your T-shaped structure. The actual direction of the shape can be whatever you want as long as there is air in each corner of the 9x9 square space. Place down 4 iron blocks in a t-shape before adding a Jack O’Lantern or carved pumpkin on top - this will bring your golem creation alive.
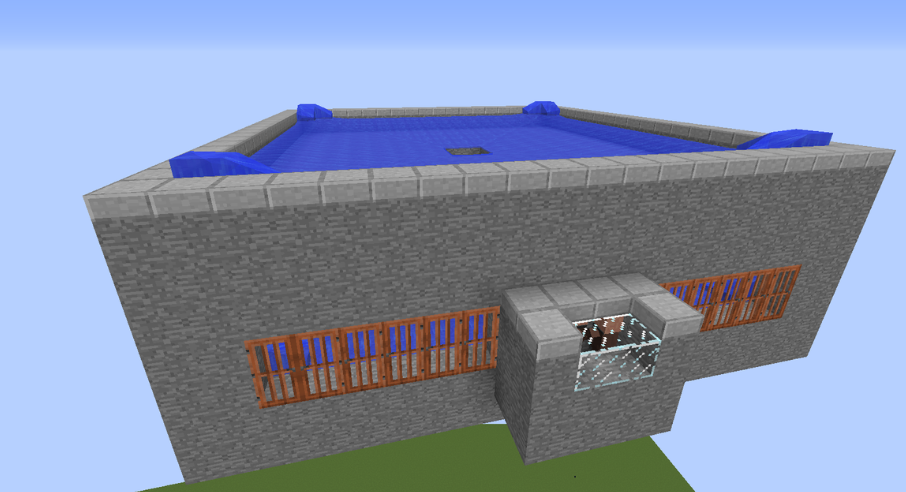
Step 3: Add Villagers & Hostile Mobs
Now that we have our Golems ready, it's time to add our villagers and hostile mobs so that they move around and lead them into their death traps (we know it sounds harsh, but hey – resources!). Spawn three villagers near where you built your structure and add one hostile mob within 16 blocks radius so that they begin moving around with intent which should ultimately lead them into our traps (more on these later!).
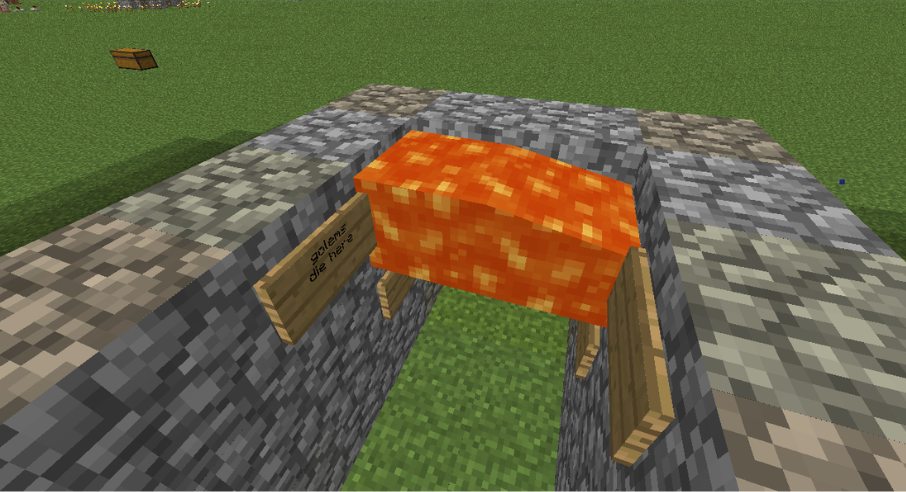
Step 4: Create Death Traps For The Golems
Once we have everything set up correctly, we need some way of actually killing off those pesky Golems once lured into our trap! There are several ways to do this, such as lava pits or pistons crushing, but for simplicity's sake, let's just use waterfalls here! Start by creating two separate waterfalls at opposite ends from each other, leading directly toward where we spawned our Golems – be sure not to forget about making sure any liquid generated flows back outwards; otherwise, drowning becomes another potential hazard if players find themselves getting too close during its operation.
Step 5: Connect Hoppers & Chests To Collect Resources
Last but not least, connect hoppers with chests underneath, which will collect all resources dropped by slain Golems, such as drops like poppies or even precious ingots like diamonds! As soon as everything is connected, ensure nothing else needs adjusting before firing up those pistons.
Final Word
And there you have it, folks – now go forth knowing exactly how to create automated yet efficient farms using none other than Iron Golems themselves! Enjoy crafting some unique builds while gathering large amounts of valuable resources without ever having picked up that diamond pickaxe again.


Leave a comment
Your comment is awaiting moderation. We save your draft here
0 Comments